This website uses cookies so that we can provide you with the best user experience possible. Cookie information is stored in your browser and performs functions such as recognising you when you return to our website and helping our team to understand which sections of the website you find most interesting and useful.

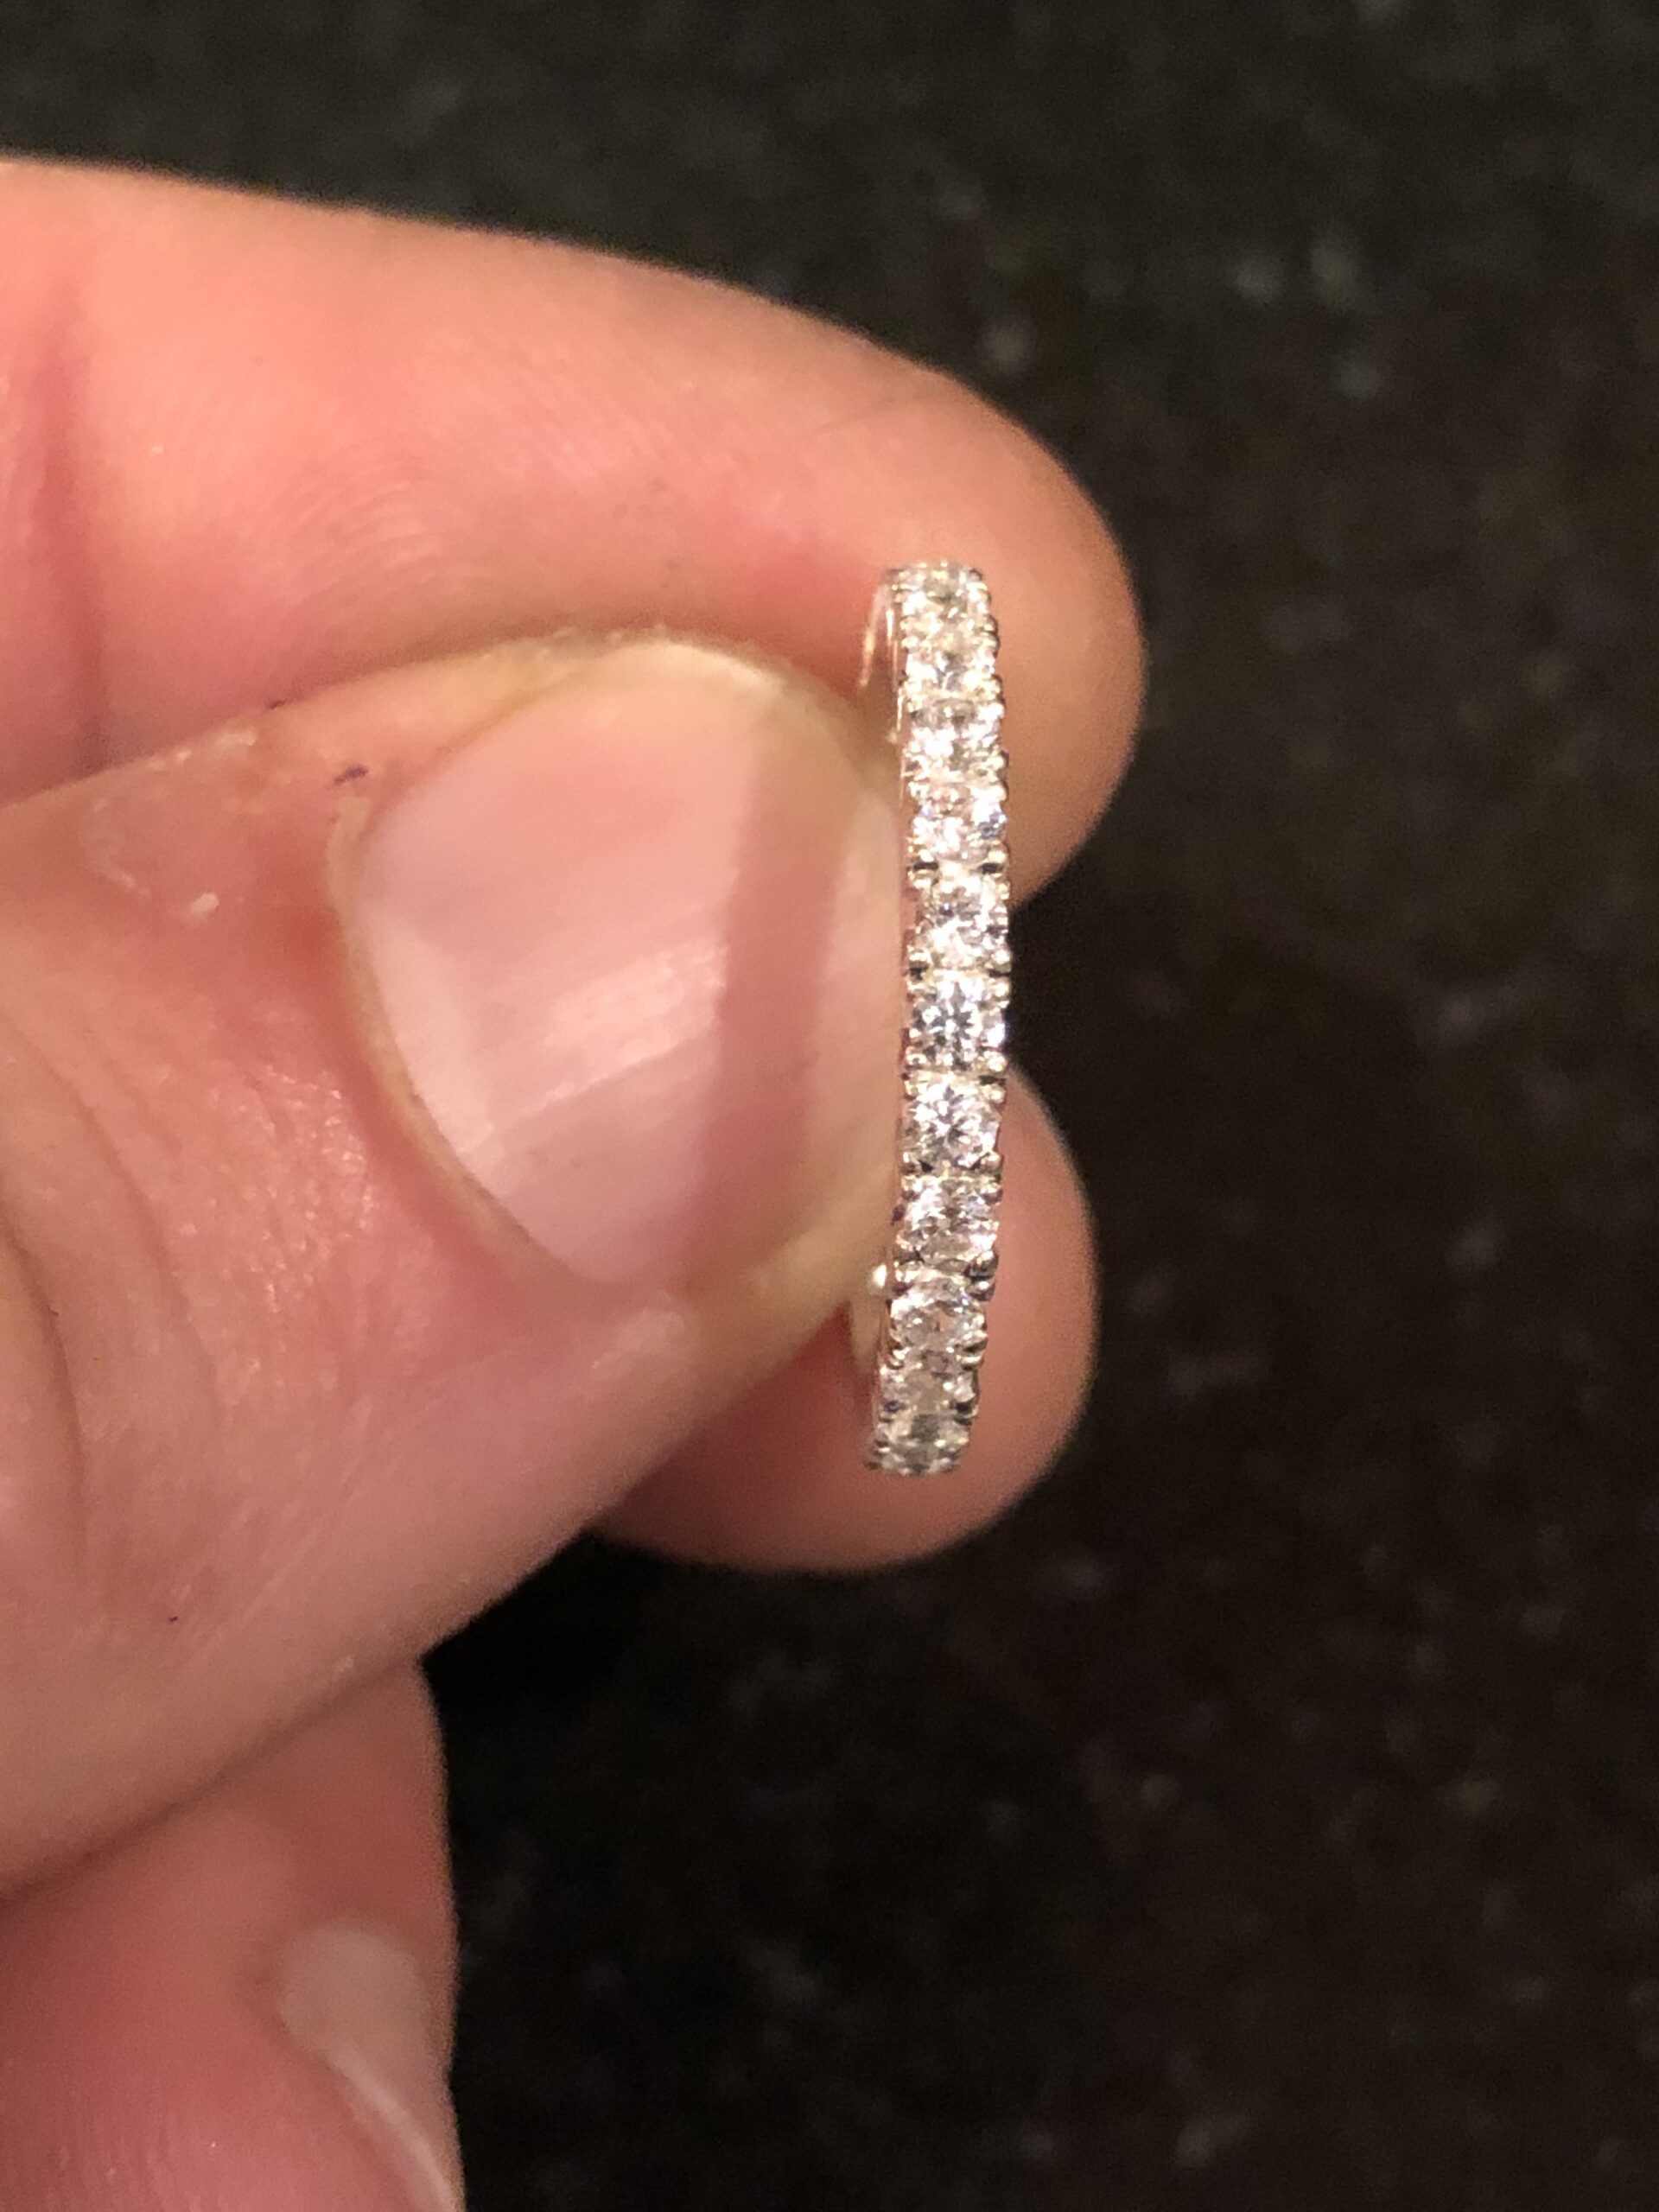
HI Timothy,
I was wondering whether you did ring as described in Terry’s fishtail video he made for his YouTube channel The Jeweller’s Hub? (https://www-youtube-com/watch?v=vVEwbwaG6jE)
Thanks!
BTW, great result; the person who will be wearing this ring must be very happy with you 😉
Thanks!
I learned a ton from that video, and a lot of what he showed I followed. A few differences that helped me:
I used round gravers instead of cylinder burs because I found the gravers easier to control. The cylinder burs can sometimes drift sideways for me, whereas the gravers allowed me to stay in line easier.
The graver cut he does at the very end I did before setting the stones, and I cut from the bottom up rather than top down with an onglette. The made it easier for me to get everything even.
Instead of pliers to push in the prongs – which always marred to side of the ring for me, I used a flat graver to push down from above to split the prong sideways and onto the stones. For that I used the notch from the onglette cut above as an easy guide.
It was hard for me was figuring out how deep to cut in from the sides after making the channel. It was deeper than I expected before it looked right. I scribed a line to make sure I cut the all to the same depth.
This video really helped see the graver cuts: https://m.youtube.com/watch?v=5UMkmawWRlA&t=185s
Except I stopped my cuts at the bottom of the U rather than going all the way to the other prong as in that video.
Finally, I had to get a microscope to see what I was doing even close to well enough — I held out a while but wish I hadn’t.